

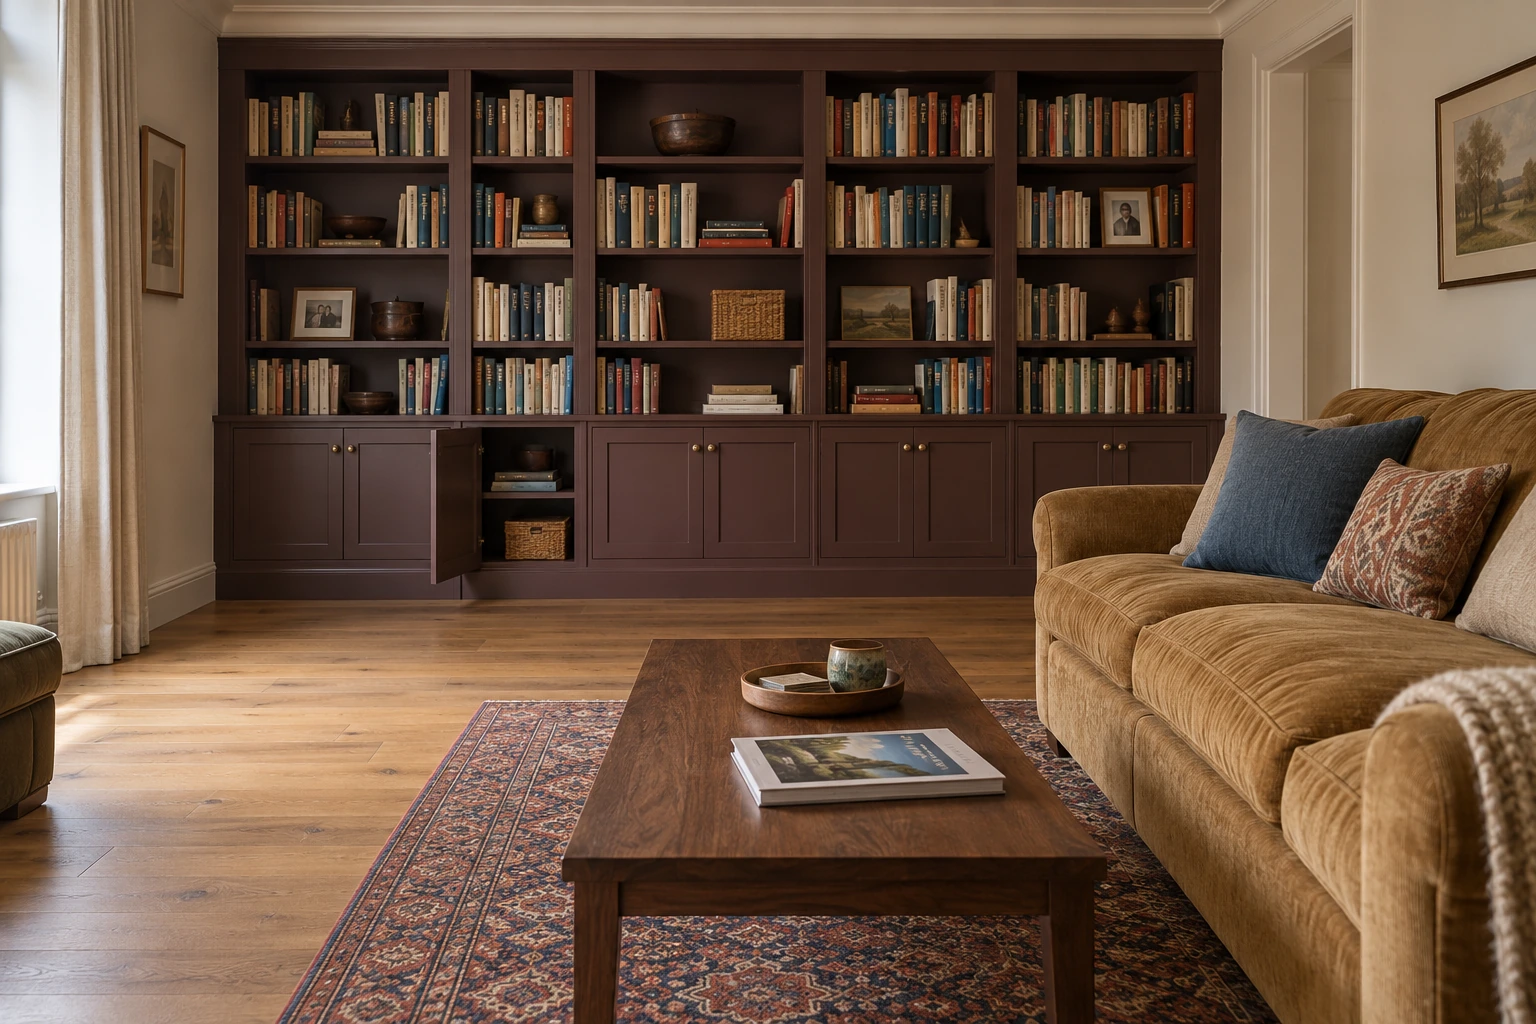
Plan built in bookshelves around your seating, the room’s openings and the things you need to store. Leave space to use the cupboards, size the shelves for your books, then choose the finish.
That order saves a familiar frustration: beautiful shelves, an armchair blocking the doors and nowhere for the board games. The paint color can wait.
Living room bookshelves: leave room to live
Before drawing a handsome wall of shelves, put the seating where you enjoy using it. Mark the proposed cabinet depth on the floor with tape, including any projecting handles. Then walk through the room and pull a chair back.
Test the lower doors, too. A piece of cardboard cut to the proposed door width can show how much floor it needs when open.
Try reaching into the cupboard while someone occupies the nearby chair. Moving an armchair every time you want Scrabble will get old quickly.
Keep the main passage outside that working space. If the route is already difficult, settle the living room layout before adding permanent storage.
Bookshelves around a window or fireplace
An opening gives the shelving a natural starting point. Around a window, leave room for the sash or casement to open, the handle to turn and curtains to gather. A low cupboard beneath the sill may be enough; a window seat deserves enough depth to sit on comfortably.
Beside a fireplace, unequal spaces can become different pieces of joinery. This Old House describes Tom Stringer’s solution: a tall arched bookcase on one side balanced by low shelving beneath a window on the other.
The useful lesson is to balance the whole wall instead of forcing two identical units into it. Confirm the fireplace’s required clearances before fixing the cabinet positions.
A doorway can organize the shelves, too. Beata Heuman’s shelving around a sitting room doorway uses the height above the opening as part of the composition. Keep the passage generous and reserve the harder to reach shelves for things you use less often.
Floor to ceiling bookshelves: know where to stop
Once the position is settled, look at the top and bottom edges. A unit that nearly reaches the cornice can leave an awkward sliver of wall. Either carry the joinery into the room’s trim deliberately or leave a clear, considered space above it.
In K&H Design’s rectory library, the ceiling coving continues across the bookcases. That repeated detail makes a substantial wall of storage feel connected to the room.
Where an ornate cornice is worth keeping intact, stopping below it can be the better choice. Sketch that line alongside the door heads and other tall furniture.
At floor level, a continuous baseboard or plinth can tie the separate sections together. Decide how you’ll reach the upper shelves before making them part of your daily storage.

Bookshelf depth: start with what you own
Measure your largest book, a typical paperback and whatever box needs to fit. Include a little space above each for your hand. Equal shelf heights look tidy in an empty drawing; an adjustable shelf lets the collection change.
For scale, Home Depot’s worked example uses a depth of 12 inches including the face frame. Ask for usable internal depth on your own drawing, alongside the cabinet’s total projection into the room.
Check that projection against the space your furniture needs. Have the maker size the shelf span, thickness and supports for the contents; a long row of heavy art books needs more consideration than a few ornaments.
Bookshelves with cabinets: give clutter a home
Built in bookshelves with cabinets give the less photogenic parts of home a place to go. Think about what accumulates nearby: children’s drawing supplies, paper files, charging cables or games. Give those things a destination before deciding how many open shelves look right.
A deeper base can hold bulky boxes while shallower shelves above keep book spines visible. In a tight room, try a smaller base footprint first. Extra capacity is useful only when the doors open and the contents come out easily.
Bring a filled basket or game box when checking the design. Door hinges and internal dividers can reduce the opening. Ask the maker to mark that clear opening on the plan so you know the contents will pass through it.

Bookshelf finishes: paint or visible wood?
With the shape and storage settled, choose how strongly the joinery should announce itself. Painting the shelves and wall alike softens the outline of a large unit. Visible timber brings grain and warmth; a darker backing can make pale ceramics stand out.
Test the finish behind your actual books. Colorful spines may cover most of that carefully chosen background. If another wall holds a painting, consider both from the doorway; our wall decor guide helps with the wider composition.
Let bookshelf styling grow from the collection. Keep spines readable, put favorite objects where you can see them and leave room to return a book.
Plan lighting before the cabinetry closes in the wiring. Wendy Labrum’s project featured by HGTV uses picture lights over individual sections. Test a fitting’s reach and glare from the sofa: light should reach the display without putting an exposed source in your eyes.
DIY built in bookshelves or a custom fit?
A straightforward wall may suit standard bookcases fitted with side panels, trim and a continuous base. Check the available sizes before assuming the gaps will be easy to disguise. A freestanding bookcase remains a sensible option if you rent or expect the room to change.
Custom work becomes more useful around irregular openings, sloping ceilings or specific storage needs. Paying for a careful fit can solve a problem that another row of standard units cannot.
DIY can reduce labor costs, but include tools, materials, doors and finishing in the comparison. The Home Depot project linked above is rated intermediate.
When comparing professional quotes, ask whether fitting, finishing, hardware and any electrical work are included. A price for cabinet boxes alone won’t tell you the cost of the finished wall.
Before asking for a quote, give the maker three useful things:
- A wall photograph and measurements, with windows, doors and existing trim marked.
- A sketch showing furniture positions, the main passage and cupboard door space.
- The sizes of your largest books and storage boxes, plus what you want hidden.
That is a better starting point than a photograph of someone else’s perfect shelves.
Start with one change, photograph the room and check how it feels in daily use before adding another.


