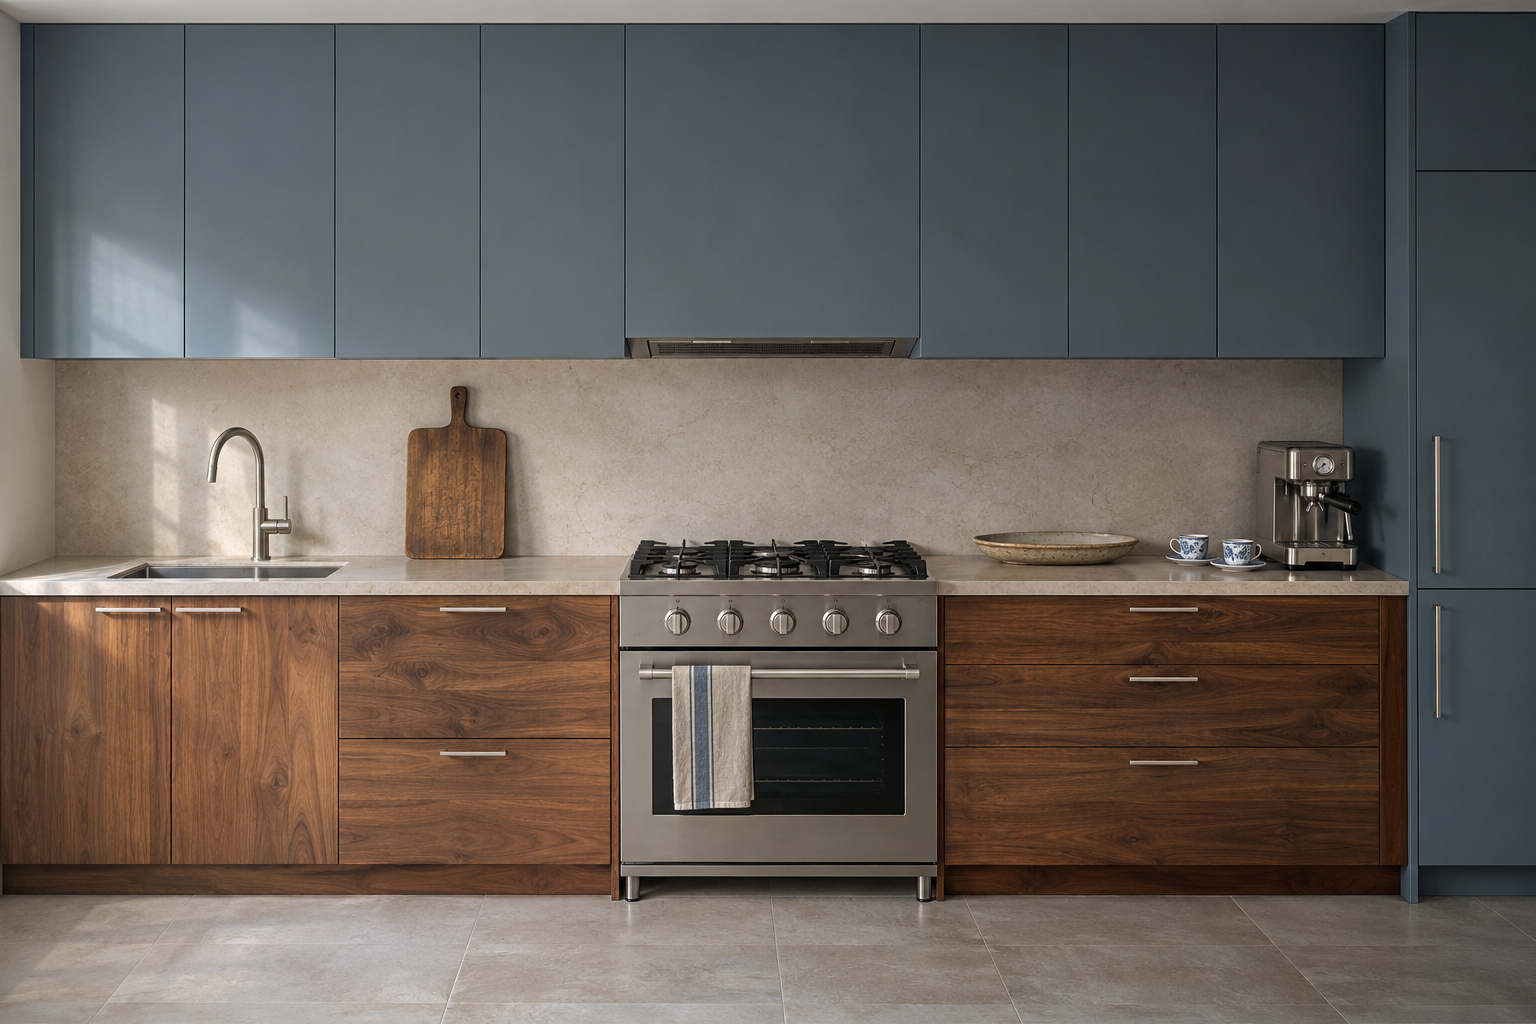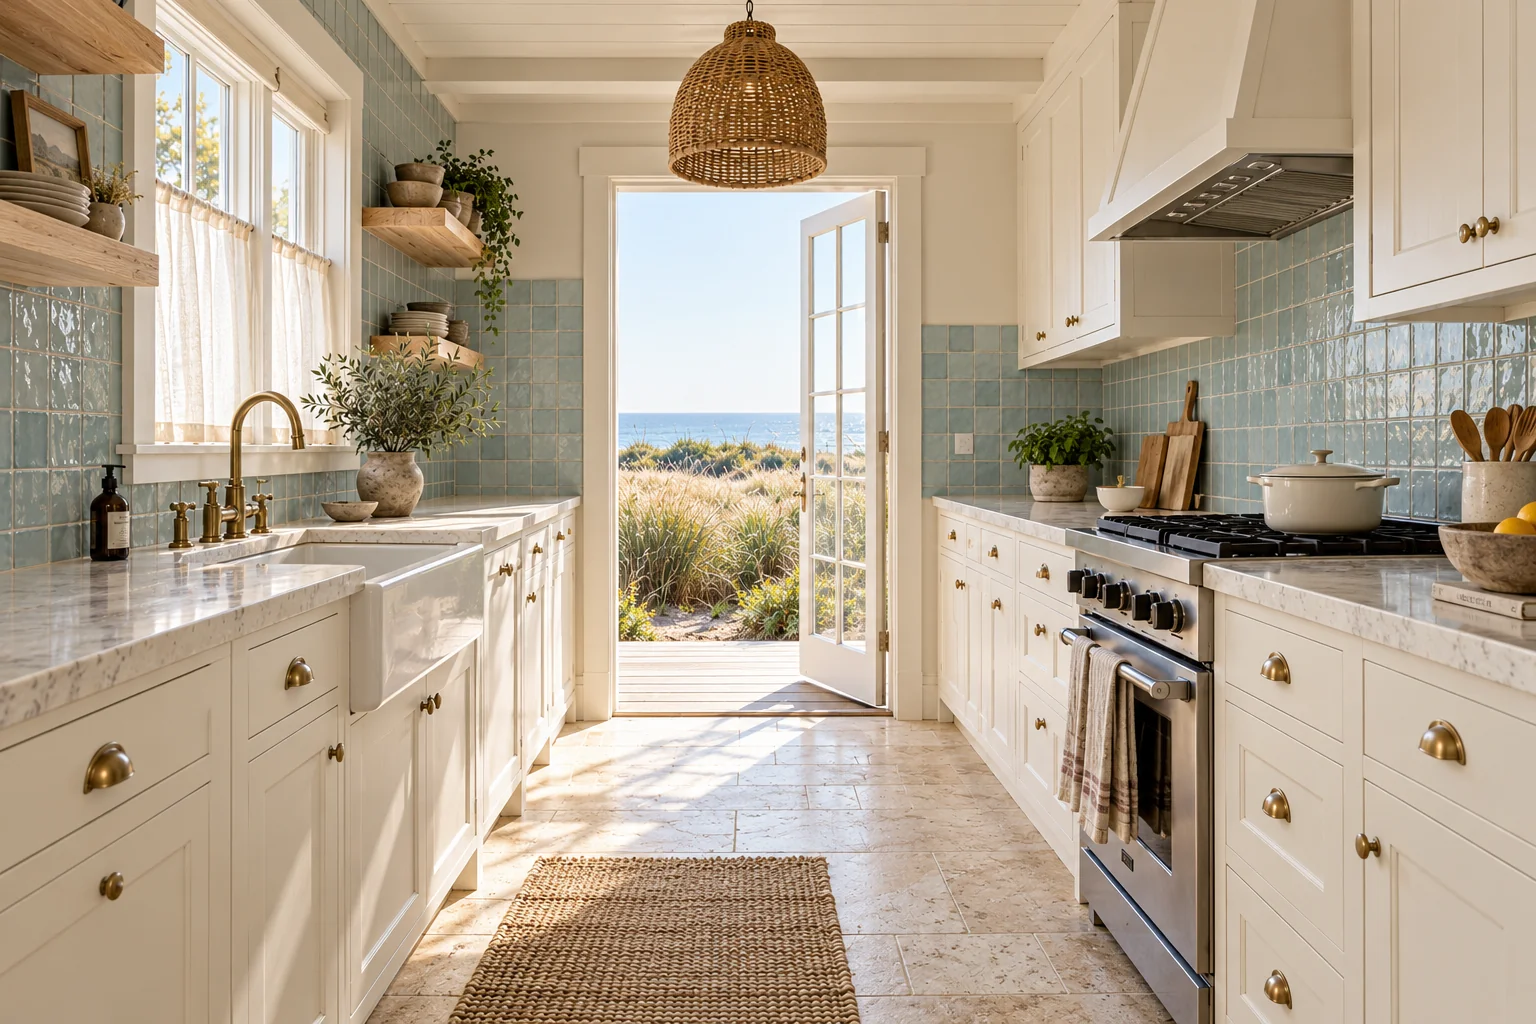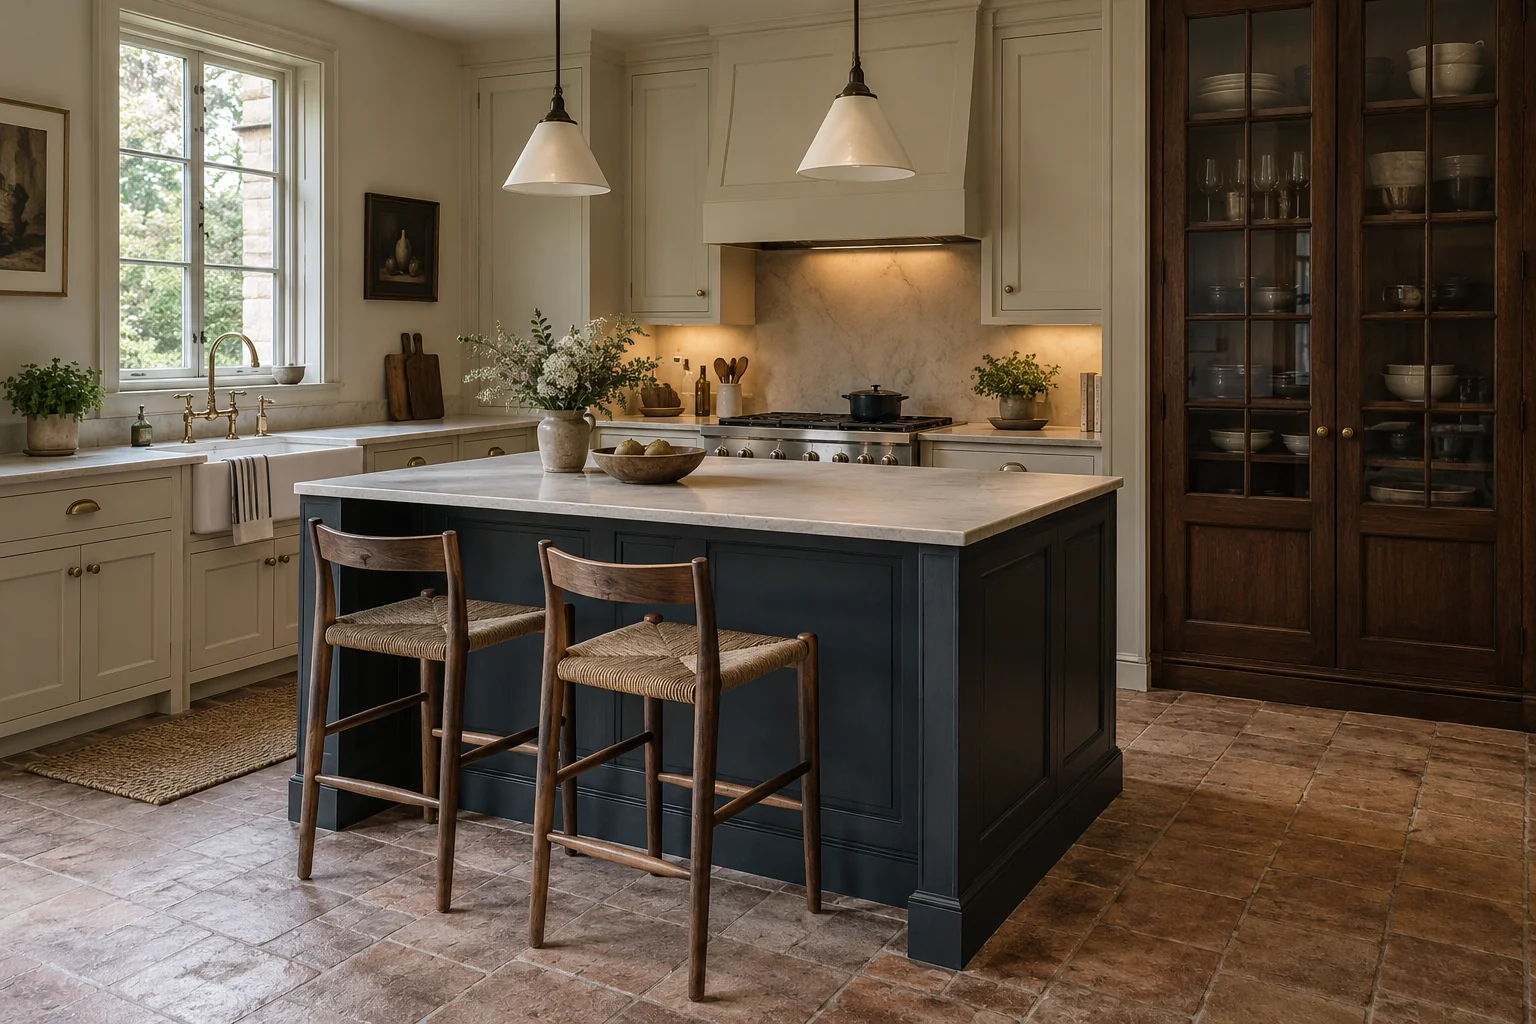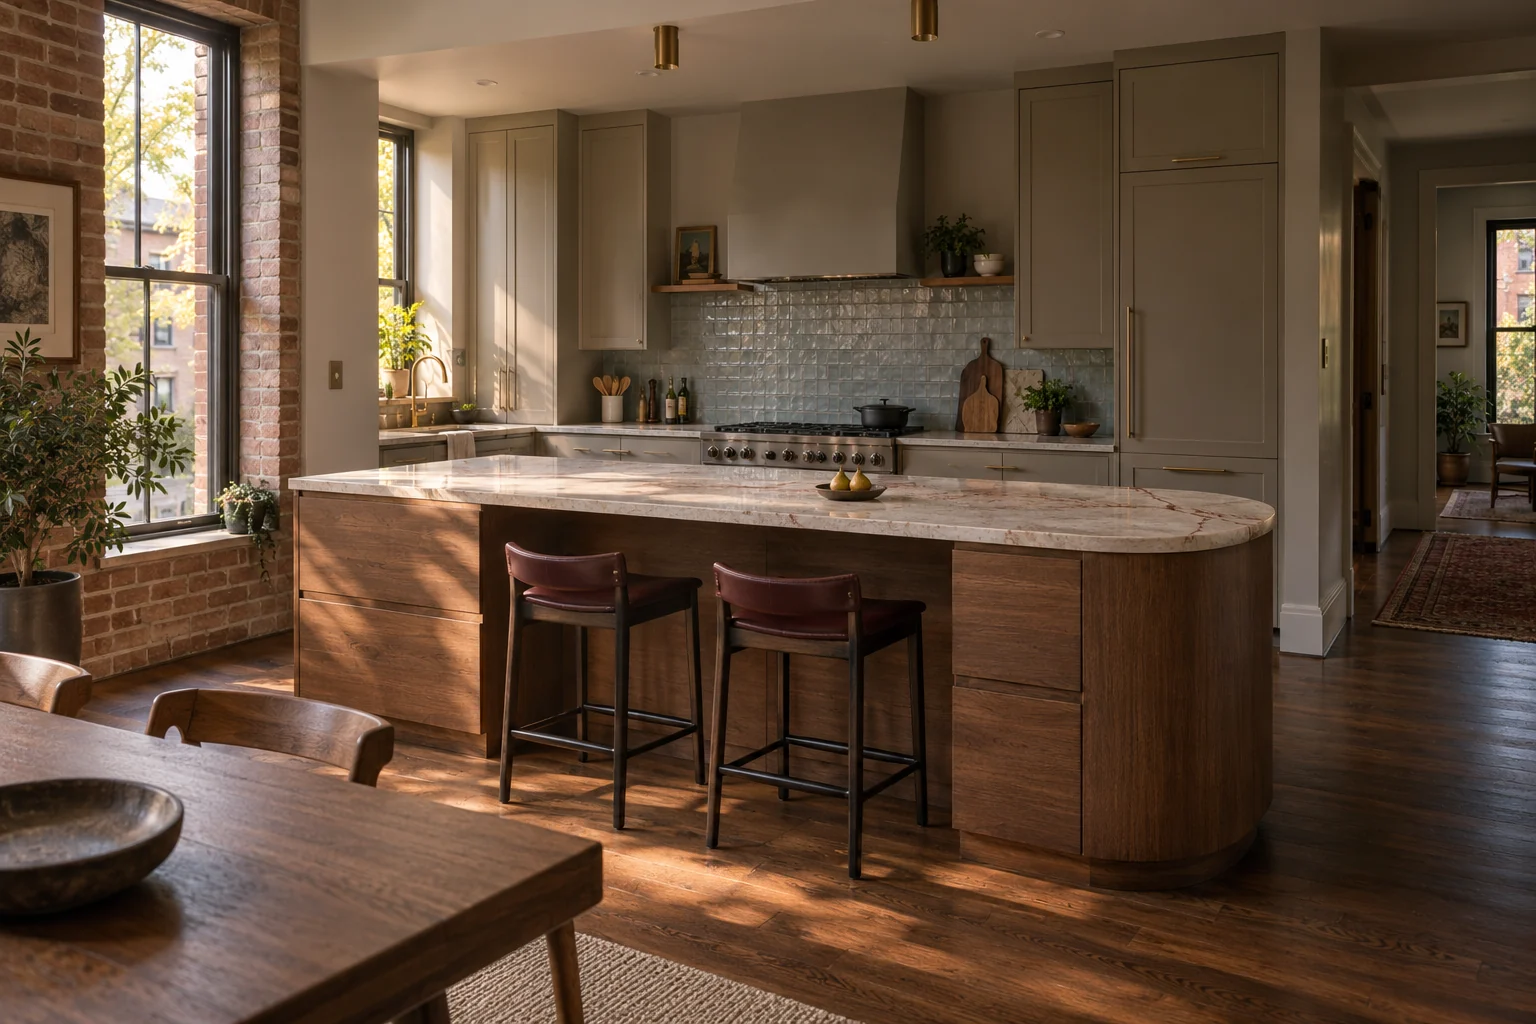
An island should give you something useful: a clear place to prepare dinner, storage you actually need, or somewhere to sit while another person cooks. Start with that job. Then choose the shape and materials that make it feel at home in your kitchen.
A curved stone top can be beautiful, but so can a simple timber worktable with a shelf for the pans you use every day. These kitchen island ideas explore six different approaches, from a small movable piece to two islands in a generous room. The best choice is the one you can enjoy using as much as looking at.
Find an island idea for your kitchen
Give the island one main job
Think about the moment your kitchen currently lets you down. Is there nowhere to put a chopping board? Are the mixing bowls stored in another room? Does someone perch in the doorway because there is nowhere comfortable to sit? Those problems lead to different islands.
For preparation, protect a clear surface. For storage, put drawers on the side where you will use them. For conversation, look beyond the number of stools in a picture and consider where those people sit in relation to the cook.
What are the trends for kitchen islands?
Stone that continues down an end, warmer timber bases, softened corners and furniture-like worktables offer several directions to explore. You do not have to combine them all. A plain rectangle can still be the right island, especially when the room already has interesting tile, a lovely floor or a view worth leaving unobstructed.
Use the design as inspiration, then test its footprint. Our kitchen layout and dimensions guide covers the working and seating spaces around it.
Stone
For a strong material focal point. Check care, seams and the full fabrication quote.
Curved
For a softer exposed end. Keep useful working space and check what the curve changes underneath.
Timber
For a piece that feels like furniture. Decide how much storage you want to keep visible.
Movable
For flexible extra surface. It needs a stable working position and somewhere to park.
With seating
For breakfast or company. Reserve knee room and room behind someone sitting down.
Two islands
For separate jobs in a larger room. More counters also mean more routes to check.
1. Let a stone island carry the room
A stone island is often most convincing when the rest of the kitchen gives it some quiet. A veined top above plain cabinet fronts has enough contrast without another patterned surface competing beside it.
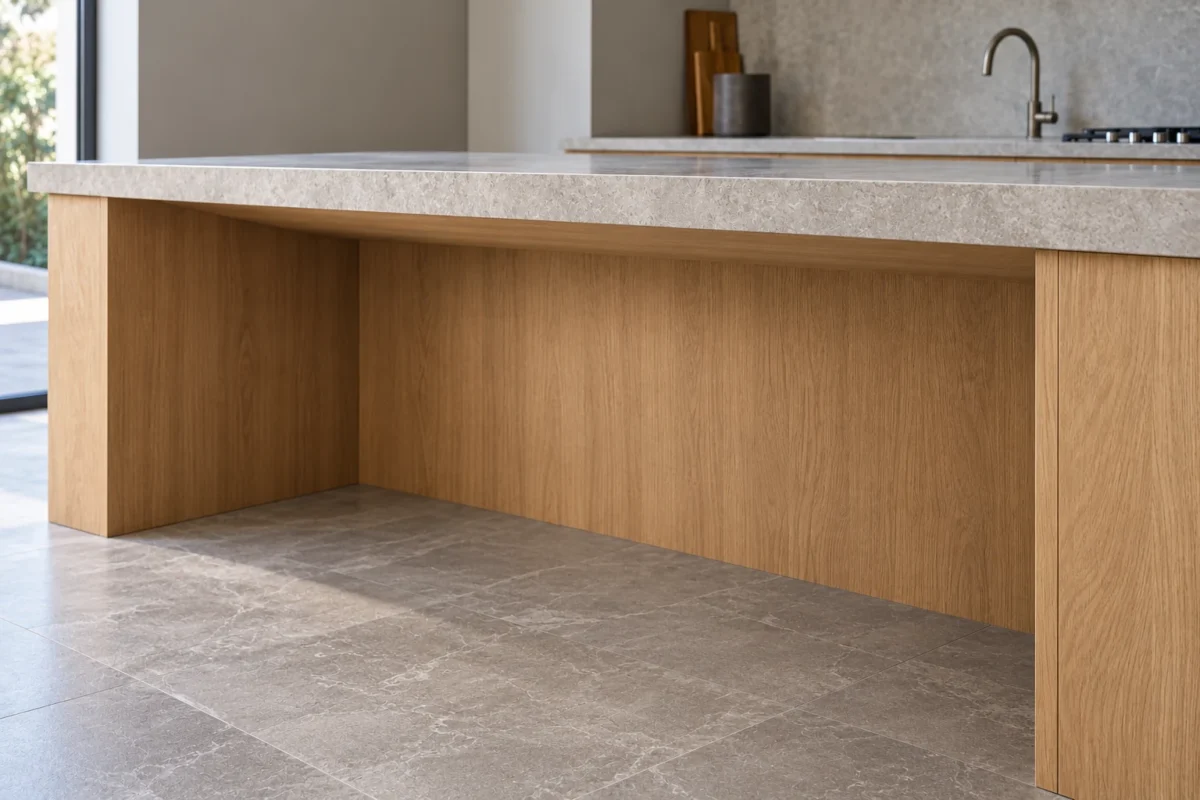
A waterfall end simply continues the countertop material down the side. It makes the stone visible from across the room, which can be lovely in an open kitchen. It also takes the place of an exposed cabinet end; decide whether that side should be a material feature, storage or somewhere to sit.
If travertine is on your shortlist, read about travertine countertops and everyday spills before settling on a slab. The finish and care requirements deserve as much thought as the shape.

Before approving the slab, ask how the veining will run across the top and end, where seams will land, and how the edge will be made. A sample cannot show the whole slab. Ask to see a layout of the actual pieces, and include fabrication, delivery, fitting and any required supports in the quote.
Then be honest about upkeep. Marble and other calcium-carbonate stones can etch when exposed to acids. A sealer may improve stain resistance, but it does not make stone stain-proof or prevent acid etching. The Natural Stone Institute’s care guidance explains the distinction. Get advice for the exact stone and finish you are considering.
A simpler version: keep the stone on top and use a plain painted or timber base. You can enjoy the material without wrapping every side in it.

Pale stone
A surface with movement can be the focus. Judge the actual slab and its finish.
Walnut
Warm grain can connect the island to a timber floor or adjoining furniture.
Painted timber
Color can define the base while the top stays quieter. Test it under evening light, too.
These are starting relationships, not a shopping specification. Our four kitchen material combinations show how cabinet, counter and floor choices work together across a room.
2. Soften the end, keep the working side straightforward
A curved end is useful to consider where an island is seen from the dining or living area. It changes the outline without asking the whole kitchen to become rounded.
In the opening kitchen, the curve is at the exposed short end; the two seats stay along a straight recessed edge. That keeps the stool arrangement easy to understand. The walnut base carries the shape, while the quieter rear cabinets let the island stand out.
The practical question is what happens below the curve. Does it leave a useful cupboard or just an awkward pocket? Will a drawer open fully? Will you still have enough clear top for the chopping board and mixing bowl you use together? Ask for the cabinet layout as well as the attractive elevation.
A rounded corner does not create the clearance a room is missing. Mark the complete shape on the floor and walk around it. If a softened rectangular corner does the job, you may not need a fully curved cabinet base.
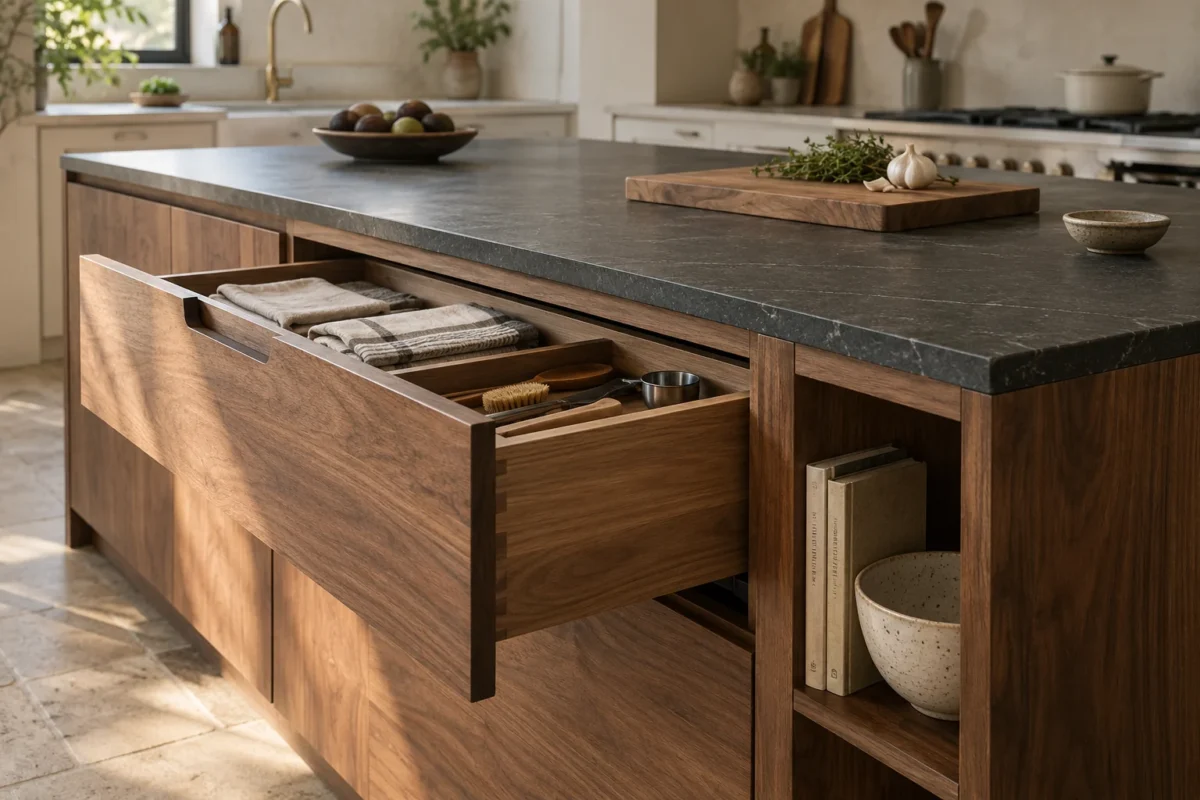
3. Use a timber worktable when you want a lighter-looking center
An open timber base lets you see more floor through the middle of the kitchen. It feels closer to a table than a bank of fitted cabinetry, which can suit a room with older details or an adjoining dining space.

Decide whether you want a timber top, a timber base or both. They do different jobs. The top is a working surface with its own care instructions; the base brings the grain and furniture character into view.
A shallow drawer is useful for the tools you reach for while preparing food. An open shelf is good for a few pans or baskets, but it will show whatever lands there. If your island needs to hide recycling, small appliances and a large collection of bowls, closed storage may be the kinder choice.
Use a chopping board and follow the top manufacturer’s care instructions rather than treating every wood finish as a cutting surface. For example, IKEA’s FÖRHÖJA care notes specify oil treatment for its birch worktop annually or as needed. That is product-specific advice, not a routine for every timber island.
4. Choose a movable piece when flexibility matters more than size
A kitchen cart can be a better answer than a small fitted island when you need extra surface only some of the time. It can hold a bowl while you prepare dinner, then move aside when the room needs more open floor.
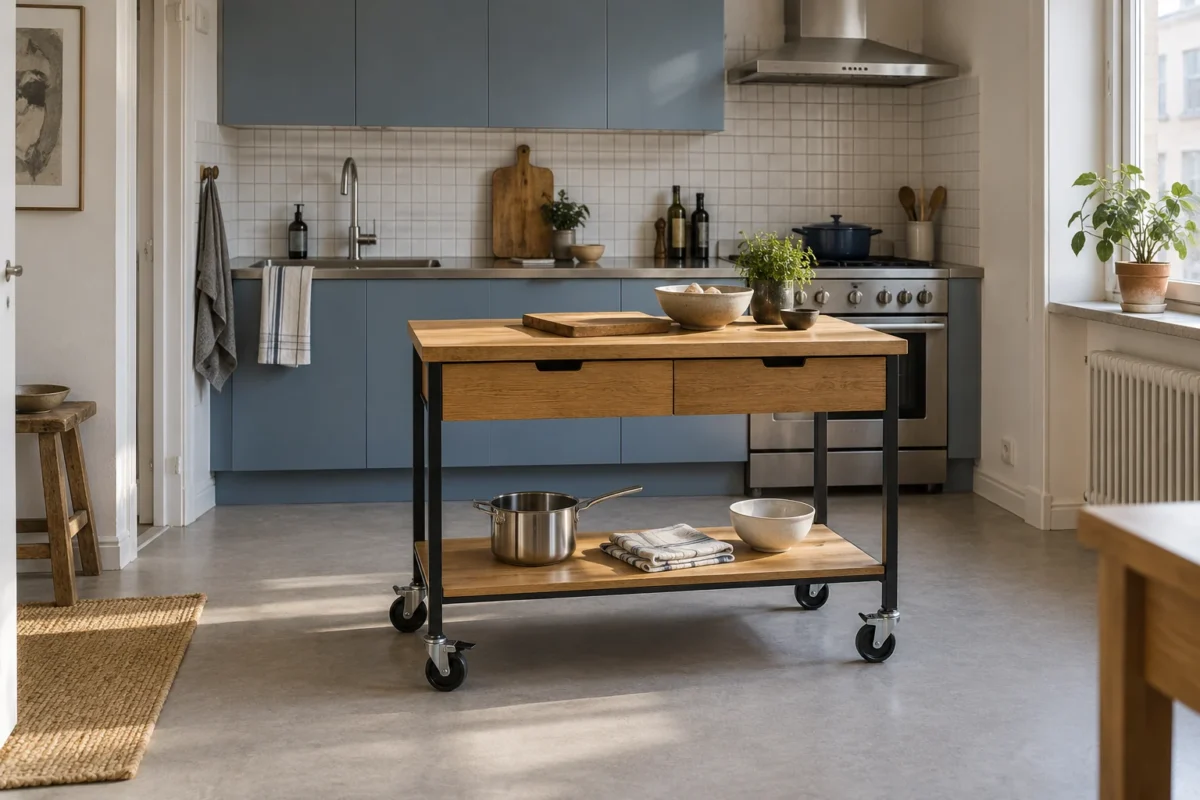
Measure its parking spot before buying it. A cart is not flexible if its only alternative position blocks a cupboard or doorway. Check that the wheels, brakes or stabilizing arrangement are suitable for the way you intend to use it, and follow the manufacturer’s instructions.
Keep the job simple: preparation, a serving surface or accessible storage. Do not turn an occasional worktable into a tangle of trailing appliance cords. If a stable cart will not fit comfortably in both positions, an existing section of counter may be more useful once it is cleared.
5. Add seating because you will use it
Should a kitchen island have seating?
Only when the seats serve a real routine and leave the kitchen comfortable to use. Two places for breakfast can be worth reserving space for. Four stools that block the fridge every evening probably are not.
A preparation-only island can give you more useful storage and a less interrupted surface. If you already have a dining table a few steps away, try using that before assuming the island needs another eating area.
Shape & seating / an original study
Keep the working edge. Choose where people sit.
01 / Straight side
Useful when the kitchen has a clear social side. Keep the seats away from the main working aisle.
02 / Rounded end
A softer outline at the exposed end. The curve still needs real clearance and a workable cabinet layout.
03 / Around a corner
Better for a face-to-face chat than a long row. Leave room for both people’s knees and for movement on two sides.
How big should a kitchen island with seating be?
There is no useful single size without knowing the counter height, number of seats and space around them. Count the complete top, the clear knee area underneath and the room behind somebody sitting there.
For a 36 in-high counter, NKBA’s published planning guide recommends at least 24 in of clear width and 15 in of knee depth per seated person. On a straight side, that means two people need at least 48 in of clear seating width—not automatically a 48 in-long finished island. End panels, legs, supports and the stools themselves still need checking.
The same guide recommends a work aisle of at least 42 in for one cook or 48 in for multiple cooks, and at least 44 in from the seating counter edge to an obstruction where someone walks behind a seated diner. These are planning recommendations from its Kitchen Planning Guidelines, not a current building-code assessment or a complete accessible-kitchen specification.
A small planning example
The island is only part of the room width
- 1 / Counter24 in — example depth
- 2 / Work aisle42 in — one-cook planning recommendation
- 3 / Island36 in — example total depth, including recess
- 4 / Seating side44 in — walk behind a seated diner
24 + 42 + 36 + 44 = 146 in / 12 ft 2 in
Measure your room and appliance doors, then bring the complete layout to your designer. Our knee-room explanation and seating-clearance guide show where those measurements start.
What is the best seating for a kitchen island?
The best stool is the one that fits your finished counter and feels comfortable to the person using it. Check the retailer’s recommended counter height, then try the seat, footrest and back if you can.
A backrest can make a longer breakfast or conversation more comfortable. A small backless stool may tuck away more easily, but it gives less support. Armrests need room to pass under the counter and beside the next seat. A swivel also needs space to turn without catching another stool or cabinet.
Order one to try before committing to a whole set when the retailer’s return policy allows it. Sit down, pull the stool out and ask someone to walk behind you. Check the surface and the underside at the same time: a comfortable seat cannot fix a shallow knee recess.
6. Give two islands different jobs
In a generous room, two islands can separate preparation from gathering. One belongs to the cook; the other gives someone a place to sit without occupying the chopping area.

This is worth considering when the extra separation solves a problem. It is less convincing when both islands have the same job and the room becomes a series of long detours.
Check the route from the fridge to the sink and cooking area, the space for open doors, and how guests get to their seats. More cabinetry is useful only if the kitchen still works when people are in it. If one island and a nearby table already meet your needs, a second island may add more cost than everyday benefit.
What can I use instead of a kitchen island?
A peninsula, a small kitchen table or better use of the perimeter counter can each be a good alternative. You can leave the center empty, too.
A peninsula attaches to the existing cabinet run, so the room does not need a route around all four sides of a freestanding island. The trade-off is its single main entrance: make sure an open appliance door or another person cannot trap the cook inside.

A small table may be better when eating together matters more than adding a high preparation surface. Before buying anything, clear the counter that has gradually become a home for occasional appliances. You may gain the working area you needed without changing the room.
What are some inexpensive ideas for a kitchen island?
Start with a ready-made worktable or cart, or make a smaller change to an island you already have. A plain rectangular piece with useful storage is often easier to live with than a complex design squeezed into the budget.
If the existing island works, new handles, a suitable cabinet finish or fewer things left on top may be enough. Check the surface and preparation requirements before painting. Replacing a serviceable countertop just to follow a picture is not always the most rewarding change.
For a new fitted island, compare complete quotes for a simple shape and your preferred custom version. Curved joinery, wrapped stone ends, services and special storage all belong in that comparison. There is no reliable universal price: the materials, local labor, scope and installation determine it.
Two ready-made options to compare in the US
For a freestanding island with a timber look
IKEA’s TORNVIKEN, in the 49 5/8 × 30 3/8 in version, is a useful reference for comparing a ready-made island with a custom one. Its top is thick oak veneer over particleboard; it is not a solid-oak worktop. Check the full footprint and storage layout against your kitchen.
Keep in mind: freestanding does not mean wheeled. Do not assume this version can be rolled aside like a cart.
For a shallower cart with open storage
IKEA’s FÖRHÖJA measures 39 3/8 × 16 7/8 in, with a 35 3/8 in height. Its birch top, drawers and shelves make it worth comparing when you need a narrow extra surface. Check its wheel arrangement, instructions and care routine before choosing where to use it.
Keep in mind: this is a different kind of piece from the four-caster concept above. The illustration does not show an exact retailer product.
These are ordinary retailer links, not affiliate links. We have not tested these products. Details were checked on the US retailer pages on October 7, 2026; confirm current specifications, delivery, availability and return terms before ordering.
Before you commit, try the kitchen you are imagining
- Mark the complete top. Include a curved end or seating overhang, not only the cabinet base.
- Open the doors. Use the appliance drawings to check the oven, dishwasher, fridge and nearby cupboards.
- Put people in the plan. Sit at the proposed edge and test the route behind it. Count the seats you need on an ordinary day.
- Give the storage a job. Decide where the bowls, tools, recycling or pans will go before choosing the drawer arrangement.
- Check samples together. Look at the actual slab or top, cabinet finish and existing floor in daylight and after dark.
- Read the whole quote. Include fitting, seams, supports and any services. Ask your designer and installer to check the complete arrangement.
Finally, keep one useful patch of the top clear. A lamp-like pendant or sculptural bowl can make a kitchen feel personal, but neither should steal the space you wanted the island for. Our lighting-placement guide can help you check where task light lands once the arrangement is settled.
You do not need the biggest island the room can hold. You need one that makes dinner, breakfast or a conversation easier—and still leaves the kitchen comfortable to move through.
About the visuals: Maison Matière interior concepts illustrate design decisions. They are not photographed client projects, measured installations or exact retailer products. The drawings are original planning studies; final layouts and supports need project-specific checks.
Sources: NKBA planning guidelines, sections 6, 8 and 9; Natural Stone Institute care guidance; US IKEA product pages linked above. The NKBA document’s code references use older editions; we use its planning recommendations rather than presenting them as current legal requirements.
Start with one change, photograph the room and check how it feels in daily use before adding another.