

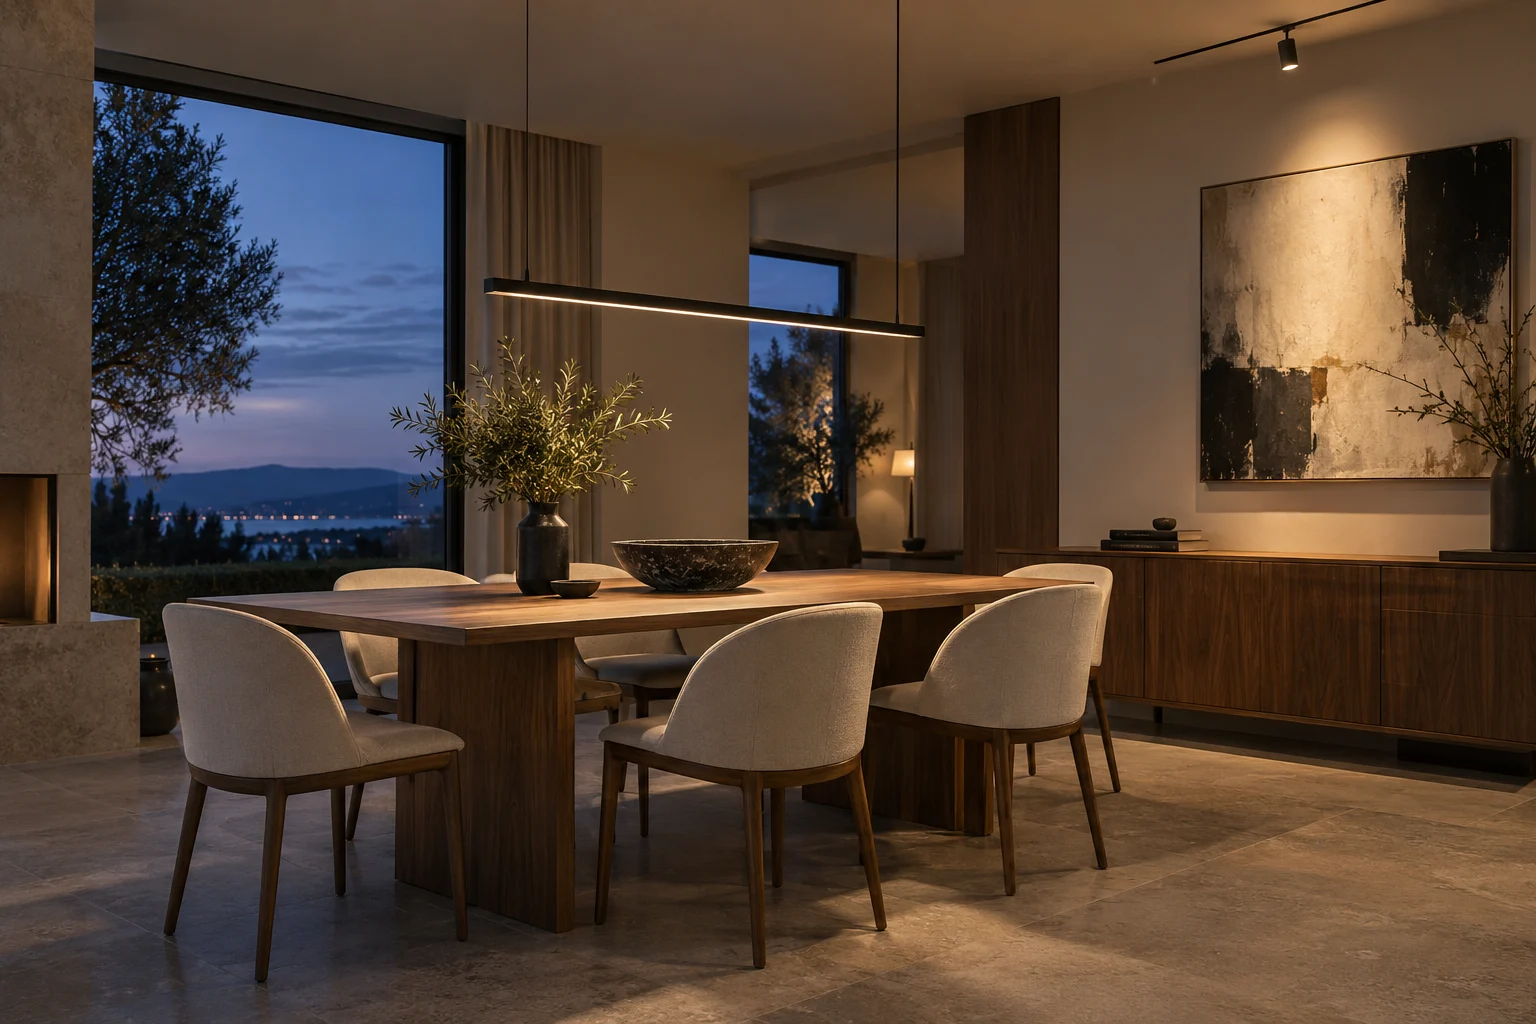
The room is furnished. The colours work. Yet at night, something feels wrong: the dining table disappears, the bedroom glows like a shop display, or your own shadow falls across the kitchen counter. Before buying a brighter bulb, look at where the light lands.
Our 20-second reel changes four lighting decisions while keeping the rooms visually familiar. The lesson is practical: conceal a distracting source, bring a pendant into a useful relationship with the table, aim a light at the art, and put task lighting beneath the cabinets. Here is how to recognise each problem in your home—and what to check before spending money.
Watch / 20 seconds
Same room. Better-placed light.
Watch the four comparisons, then start with the one that describes your room.
Original video supplied by Maison Matière. The room comparisons are illustrative imagery, not measured installations. The text below adds the buying and placement checks that a short reel cannot show.
Which lighting problem do you have?
- You notice the LED dots before the room: start with concealing and diffusing the source.
- The dining pendant feels disconnected from the table: check its height, alignment and light distribution.
- There is a bright patch above a painting: aim and size the beam for the artwork.
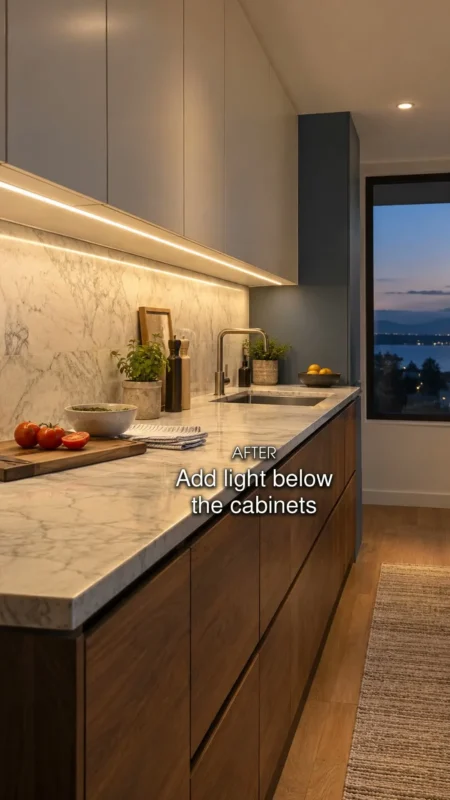
- The kitchen looks bright but the preparation area is dark: add light beneath the wall cabinets.
Choose one problem first. A successful change should make an everyday moment easier, whether you are sitting down to dinner, reading in bed or preparing food.
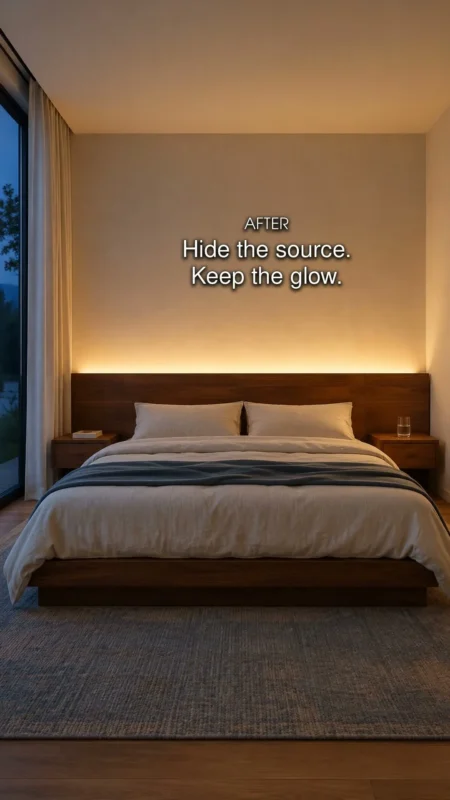
1. Hide the source. Keep the glow.
A line of exposed LED points can turn a restful bedroom into a row of bright distractions. The attractive part is usually the light on the wall, not the strip itself. In the reel, a visible dotted line gives way to a soft wash above the headboard.
Check it from where you actually sit or lie down. A strip hidden from a standing viewpoint may be directly visible from the pillow. Consider the edge of the headboard, the direction of the strip and whether the light will reflect from a glossy surface. Concealment and diffusion solve different problems: a diffuser softens individual points; a lip or recess helps keep the source out of view.
For a new installation, look for a coordinated strip, channel, diffuser and power supply rather than buying tape in isolation. The channel must fit the strip and its connectors; the power supply must match the selected voltage and load. Keep the driver accessible for maintenance.
An aluminium channel with a diffuser is one possible approach. Waveform’s channel specification describes its mounting and diffusion functions, while also identifying connector limitations. Check the complete system before ordering.
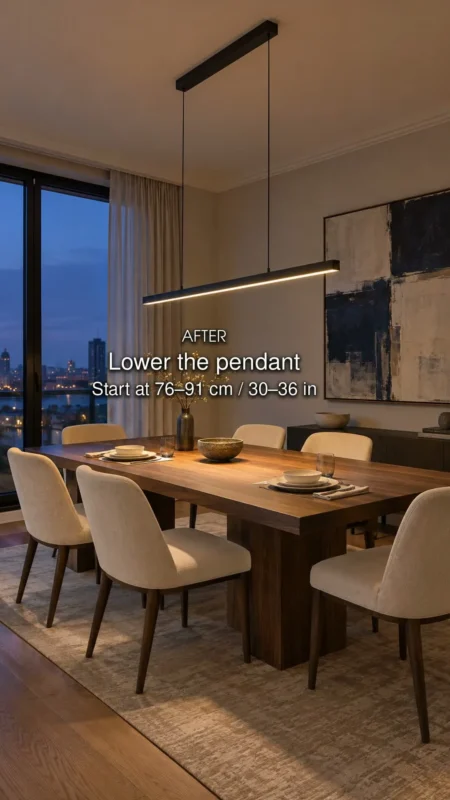
2. Bring the pendant back to the table.
A beautifully chosen light can still feel distant if it floats close to the ceiling. Lowering it can give the dining table a stronger place in the room. But height alone will not fix a fixture whose beam sends most of its light elsewhere.
The reel uses 30–36 inches / approximately 76–91 cm from the tabletop to the lowest part of the fixture as a starting range. This is consistent with West Elm’s dining-room guidance. It is a decorating rule of thumb, not a universal installation requirement.
Check the view across the table while seated, then stand and move around it. A bulky shade, tall diners, a higher ceiling or a highly directional fixture can change the useful position. Centre the light over the table’s intended position. If the table extends, check how the arrangement works at both lengths.
Before replacing the pendant: check whether its existing suspension can be adjusted according to its instructions. If it can, an installer may be able to solve the problem without changing the fixture. For a new pendant, compare the minimum and maximum hanging heights with your ceiling and table—not just the product’s body dimensions.
3. Light the art, not the patch above it.
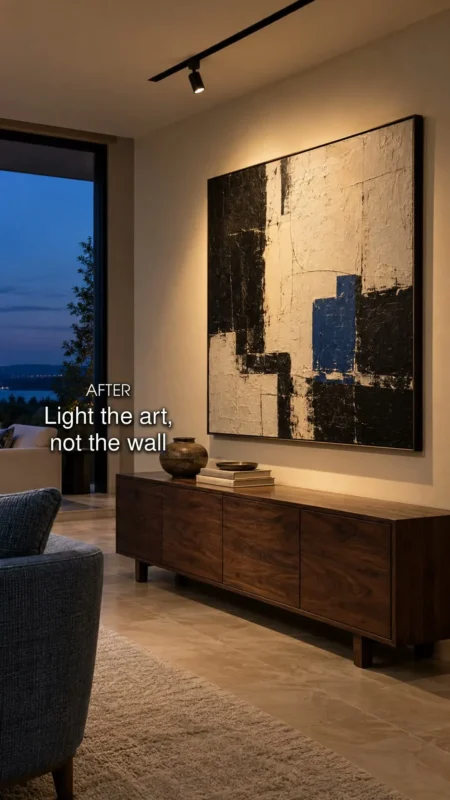
When the brightest spot lands on the wall above a painting, your attention goes to the lighting mistake. The reel redirects the beam so the artwork becomes the focus.
Check aiming from the seats and walking routes where the picture is normally seen. Glass, glossy paint and a deep frame can introduce reflections or shadows. Move through those viewpoints before deciding that the light looks right.
For ceiling accent lighting, specialist manufacturer ERCO describes about 30 degrees from the vertical as a useful starting geometry. That is an aiming reference, not a promise that one angle will suit every frame or room. Beam spread, distance and picture size matter, too.
An adjustable spotlight makes sense when you already have a compatible track and want to redirect light. A picture light is a different solution, mounted near the artwork. Check its projection, coverage and available power before buying. Valuable or light-sensitive originals need conservation advice; a decorative home lighting setup is not a museum specification.
4. Put task lighting under the cabinets.
A ceiling light may illuminate the whole kitchen while your body and the wall cabinets leave the worktop in shadow. Increasing the ceiling brightness does not necessarily put light on the chopping board.
The useful change in the reel is a continuous line beneath the cabinets. As a starting point, test a position near the front of the cabinet underside, keeping the fixture out of direct view. Kichler’s cabinet-lighting guidance recommends front-edge placement. Your cabinet lip, countertop reflectivity and chosen fixture can affect the result.
Stand in your usual preparation position and check the entire working area. Look for dark gaps between fixtures, reflections from polished stone and corners missed by the light. A continuous strip can suit a long run; linked bars can be easier to specify in discrete cabinet widths.
Choose for the task. Battery or rechargeable lights can help in occasional-use spaces, but consider charging and runtime before relying on them for daily food preparation. For fixed kitchen lighting, work out the power route, switching and cable concealment with the installer.
Read these five details before you buy.
- Brightness: compare lumens, not wattage alone. ENERGY STAR explains this distinction. Consider where that output goes as well as how much there is.
- Light colour: Kelvin describes the appearance of the light. For the warm evening look in our examples, start by comparing 2700K and 3000K samples. This is our editorial starting point; test them beside your finishes rather than treating one number as universally correct.
- Dimming: confirm the exact fixture or bulb, driver and dimmer combination. “Dimmable” on one component is not enough. Use the maker’s compatibility information; Lutron’s LED compatibility tool is an example for its dimmers.
- Serviceability: check whether the light source is replaceable, which parts are included and how a driver or integrated LED module can be serviced.
- Total installed cost: include the fixture, necessary power supply, controls, mounting accessories and installation. A low strip price can be misleading when the rest of the system is separate.
The lighting edit: four starting points for US shoppers.
These are specification-led examples to compare, not products we have tested or the exact fixtures shown in the illustrations. Choose the category that addresses your problem, then check the current product details and installation requirements.
Shopping note: these are ordinary links to manufacturers and a retailer. Maison Matière does not currently earn commission from these links. Prices and stock are shown at the destination.
Start tonight: a ten-minute lighting audit.
Wait until daylight has faded. Turn on the lights you normally use, then visit four positions: your pillow, a dining chair, your favourite seat facing the artwork and the kitchen preparation area.
At each position, ask: What draws my eye? What am I trying to see? What is in shadow? Write down one mismatch. Adjust only controls and aiming features intended for user adjustment; arrange an installer for pendant suspension, new wiring or fixed-light alterations.
Photograph the result from the same position. If the room feels calmer or the task feels easier, you have a useful brief for your next purchase. If the change barely helps, investigate the placement before ordering a brighter version of the same thing.
Buy a light for the surface, object or activity it needs to illuminate. Then choose the form that belongs in your room.
Keep exploring: five kitchen measurements, awkward living-room layouts and nature-inspired colour palettes.
Sources and editorial notes.
Placement and product references were checked on 3 October 2026. The linked guidance comes from West Elm, ERCO, Kichler, ENERGY STAR, Lutron, Waveform Lighting and Lumens. Product examples were selected from published specifications, with no hands-on testing or sponsorship claimed. Generated illustrations show a concept, not a verified fixture’s beam pattern. For US installations, use appropriately rated products and have a qualified installer follow the product instructions and applicable local requirements.
Start with one change, photograph the room and check how it feels in daily use before adding another.